The Dock serves as the control center for the Biofire Smart Gun system. The Dock is used to enroll users, manage settings, charge the Smart Gun, perform software updates, and access diagnostic information. The Dock is the primary interface for managing the Smart Gun system.
Please refer to pages 14-15 of your Product Manual for more information.
Dock Setup
Enroll immediately or as soon as possible after the Smart Gun is received. Immediate enrollment is encouraged as the first person to enroll will be recognized by the Smart Gun as the owner with complete administrative control over the enrollment of other users, updates, and more. Please refer to the Smart Gun Enrollment article for more information.
Start with Dock set up for the Smart Gun system.
During Dock setup, you will:
- Plug the Dock into a power source
- Connect to Wi-Fi or opt out of Wi-Fi connection (optional)
- Sign in to your Biofire account (only if Wi-Fi is connected)
- Confirm the correct time zone
- Enroll the Smart Gun
Dock Location
Set up the Dock in the location where the Smart Gun will be kept long-term. Consider:
- Proximity to a power source
- Strong Wi-Fi signal (if chosen to connect)
- A secure, accessible location
- Adequate ventilation and stable surface
Please refer to the Smart Gun Storage article for more detailed guidance on secure storage recommendations.
Power Connection
Connect the Dock to wall power and maintain power through initial setup and enrollment process using the included power cable and AC adapter, even though the Dock may arrive with some battery charge. Plug the power cable and AC adapter into a wall outlet and plug the other end of the power cable into the Dock. Maintaining wall power throughout setup helps prevent interruptions during the enrollment process.
Press the power button to turn on the Dock if it does not power on automatically after connecting to wall power. The screen will appear backlit as the Dock boots up before displaying the Biofire logo. A "Get Started" prompt will appear once ready and will begin to guide you through the process.

Wi-Fi Connection (Recommended)
The Dock will prompt you to connect to Wi-Fi during setup. Connecting to Wi-Fi is not required, the Smart Gun is fully functional without Wi-Fi, but Biofire strongly recommends connecting for several reasons.
Connecting to Wi-Fi allows the Smart Gun system to:
- Receive software updates
- Access future features and improvements from Biofire
- Simplify troubleshooting with our support team
Privacy Protection
The Smart Gun stores biometric data exclusively on the Smart Gun in fully encrypted form. Enrolled biometrics are secure, even from access by Biofire. Connecting to Wi-Fi does not make biometric data accessible or transmit biometric data.
Review Biofire's Privacy Policy available at smartgun.com/legal/privacy-policy for complete details on how we protect user data and privacy.
Wi-Fi Connection Setup
The Dock will automatically search for available networks:
- Select the Wi-Fi network from the list
- Enter the Wi-Fi password
- Confirm the connection
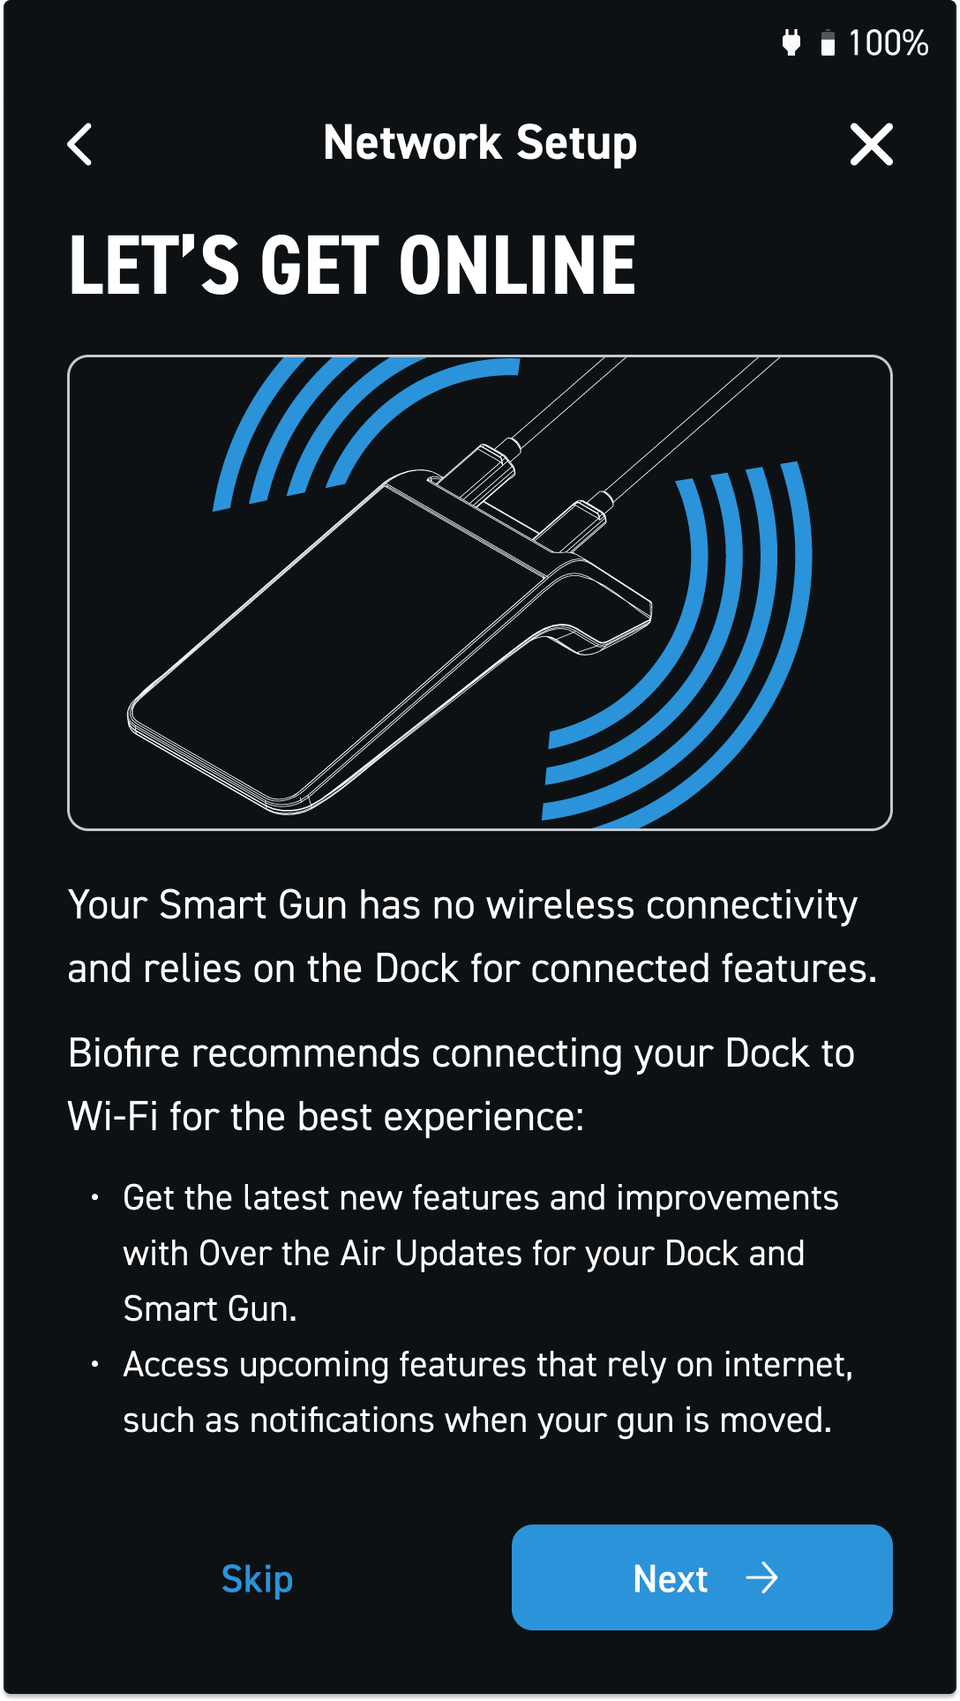
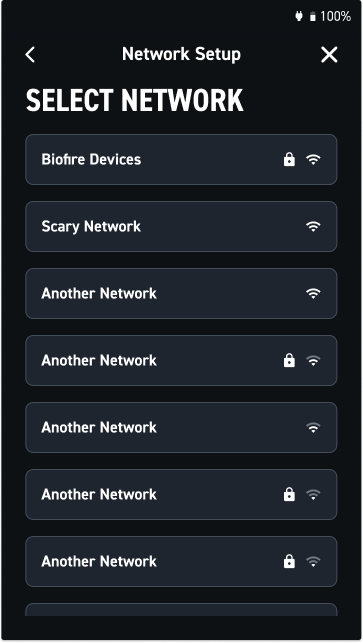
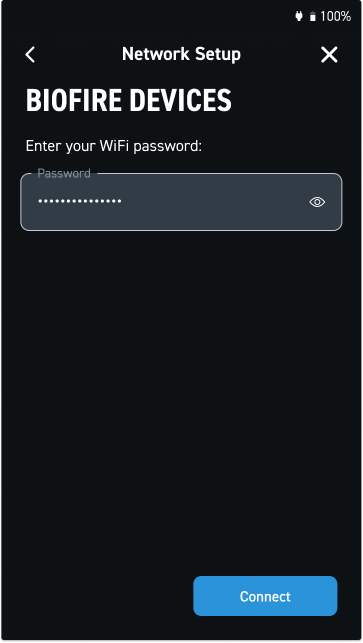
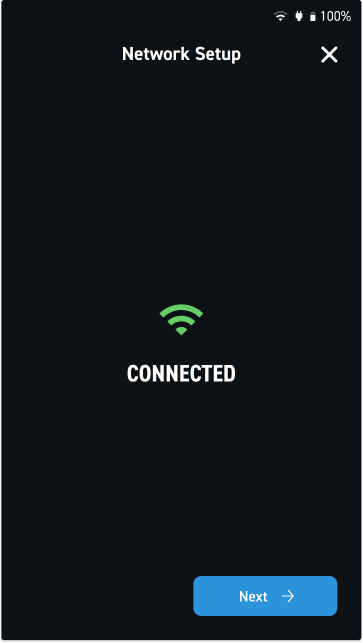
Owners can connect or disconnect from Wi-Fi at anytime through the Dock settings.
Account Sign-In
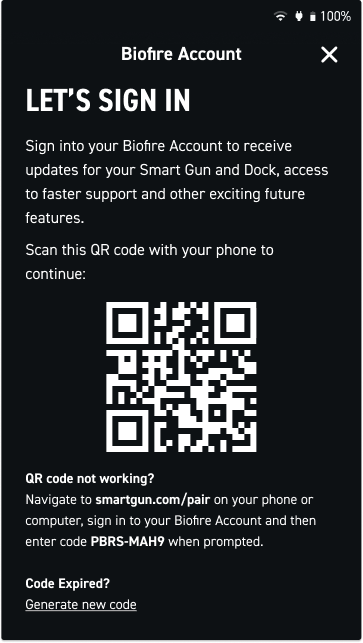
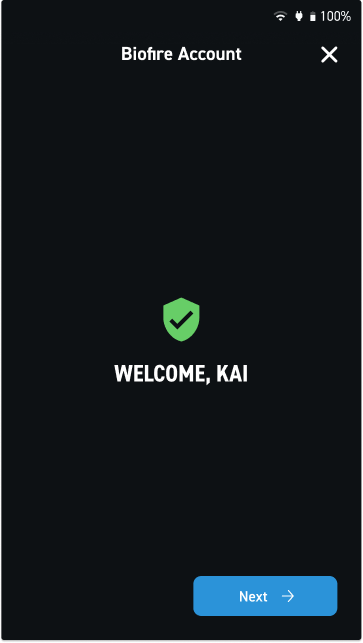
Sign in to the owner's Biofire account after connecting to Wi-Fi. Signing in links the Dock to the owner's existing Biofire account, establishing the account holder as the owner of the Smart Gun. The prompts will appear as follows:
- The Dock will display a QR code
- Scan the QR code or visit smartgun.com/pair
- Sign in to the owner's Biofire account
- The Dock will confirm the connection and display the owner's name
Time Zone Configuration
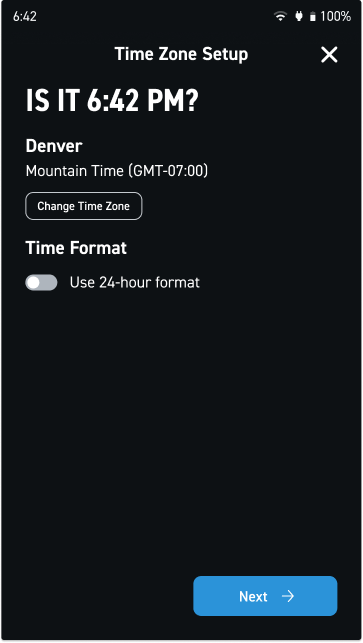
Select the correct time zone from the dropdown list. This ensures accurate timestamps for maintenance records, software updates, and system logs. A 24-hour time format is available, or owners may continue with a 12-hour format.
Software Updates
The Dock will check for available software updates if the Dock is connected to Wi-Fi. Locate Software Updates within the Dock settings. The Dock settings are located on the bottom lefthand corner of the screen. Once authenticated, the owner can select the option to download and install available updates when they are available. Timing and availability of updates may vary, depending on the update itself. The Dock may reboot after installing updates.
Important: Do not disconnect wall power from the Dock during software updates.
Smart Gun Connection

Handle your Smart Gun safely and responsibly at all times. Failure to follow proper firearm safety practices can lead to injury, death, and/or damage.
- Keep the muzzle of your Smart Gun pointed in a safe direction at all times.
- Keep your finger off the trigger of your Smart Gun until ready to fire.
- Only point the Smart Gun at intended targets, and always know your target and what lies beyond your target.
- Always treat your Smart Gun as if it is loaded, even after clearing it.
- Make sure your Smart Gun is unloaded and clear before any cleaning or service and always wear eye protection when cleaning or servicing your Smart Gun.
- Always read and follow the Product Manual.
Connect the Smart Gun to the Dock with the provided data cable:
- Connect one end of the cable to the Dock's data port.
- Connect the other end of the cable to the USB-C port inside the trigger guard of the Smart Gun.
The Dock will recognize the Smart Gun and begin powering the Smart Gun up once properly connected. The Smart Gun ships powered off to conserve battery, and the initial boot may take a few seconds to start up after connection is established.
Please refer to the Smart Gun Enrollment article to access step-by-step instructions on how to enroll biometrics into the Smart Gun.
Dock Maintenance and Use
The Dock remains the primary tool after initial setup for:
- Adding or removing authorized users
- Checking battery status and system health
- Installing software updates
- Reviewing system alerts
- Re-enrolling biometrics if needed
Keep the Dock in an accessible location where the Dock can be easily connected to the Smart Gun for charging and maintenance.